6000 Series English Unit Optical Tooling Scales
SKU
6000 Series English Unit Optical Tooling Scales
All of our scales are graduated throughout their stated length. Each scale is shipped in a vinyl sheath.
A number of accessories are available for use with our scales (listed below). These include magnetic holders, levels, and special adapters. Also included is our line of Invar extension tubing, available in many different configurations to suit your measurement needs. The table below gives you the model numbers and lengths of our standard scales.
| Model | Length | Pattern |
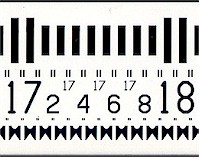
| 6005 | 5" | Brunson |
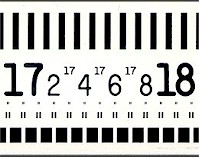
| 6010 | 10" | K+E |
| 6020 | 20" | K+E |
 K+E Pattern K+E Pattern |
 Brunson Pattern Brunson Pattern |
10" and 20" scales: 0.010", 0.025", and 0.060"
5" scale: 0.005", 0.010", 0.025", and 0.050"
562-A Magnetic Scale Holder
562-41 Magnetic Scale Holder (for 40" scale)
562-VA V-Block
563, 563-40 Scale Levels
15-002 Roll Rider
803-x Invar Scale Extension Kits
| Accuracy | ±0.001" |
|---|---|
| Finish | Matte white background, black graduations and numbers, non-glare topcoat |
| Major Divisions | 1" |
| Material | Hardened tool steel |
| Minor Divisions | 0.100" |
| Width in | 1″ |